Simple Techniques to Clear Up a Muddy Mix
Clearing the Fog: Essential Strategies for Eliminating Mix Muddiness
Every producer has been there—you've layered track after track, but instead of power and depth, you're left with a cloudy, undefined mess. The good news? Achieving clarity in your mixes doesn't require years of engineering school. Here are battle-tested techniques I use daily to transform muddy mixes into polished productions.
Understanding the Mud Zone
First, let's define our enemy. Muddiness typically lurks in the 100-500 Hz range—the frequency real estate where most instruments compete for attention. This congestion creates that frustrating "blanket over the speakers" effect that obscures detail and impact.
The challenge? This range contains crucial body and warmth. Cut too aggressively, and you'll gut your mix. The solution requires surgical precision and a well-trained ear.
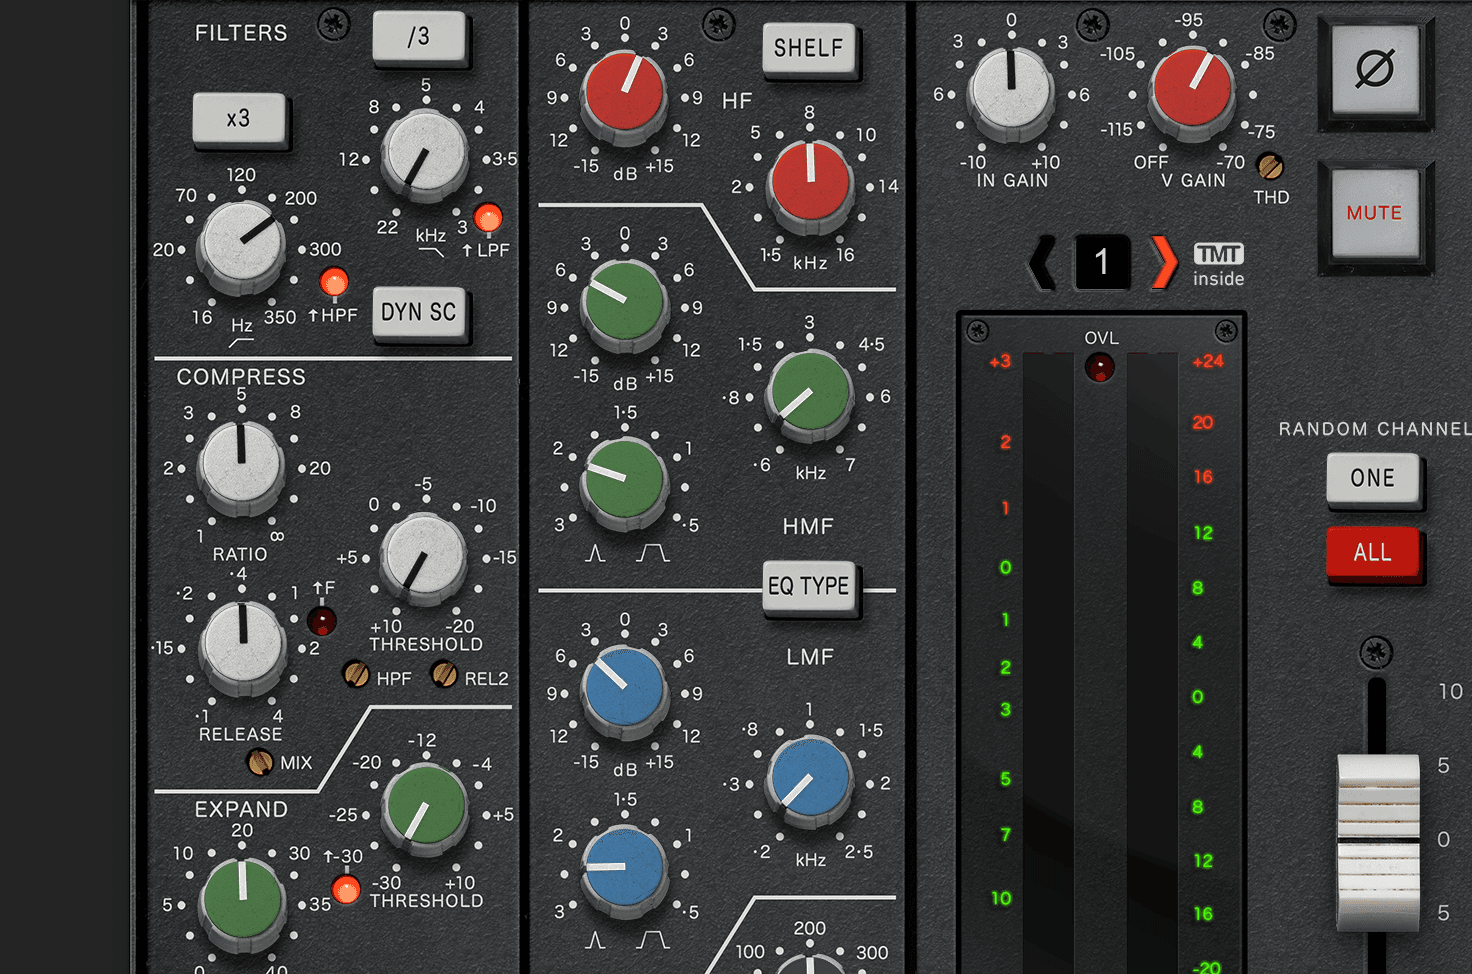
The High-Pass Solution: Your First Line of Defense
Think of high-pass filtering as spring cleaning for your mix. This deceptively simple tool can transform a cluttered production into a spacious soundscape.
Here's my workflow: As I build each track, I immediately reach for the high-pass filter. Starting from the bottom, I sweep upward until the instrument begins losing essential character, then ease back slightly. This "find and retreat" method ensures you remove only what's unnecessary.
Different sources demand different approaches:
-
Vocals: Often benefit from filtering up to 80-200 Hz
-
Electric guitars: Can handle cuts up to 100-150 Hz depending on style
-
Cymbals/hi-hats: May tolerate aggressive filtering up to several kHz
-
Bass instruments: Require the lightest touch—sometimes just 30-40 Hz
The magic happens when you apply this systematically across your entire mix. Suddenly, each element finds its own sonic territory.
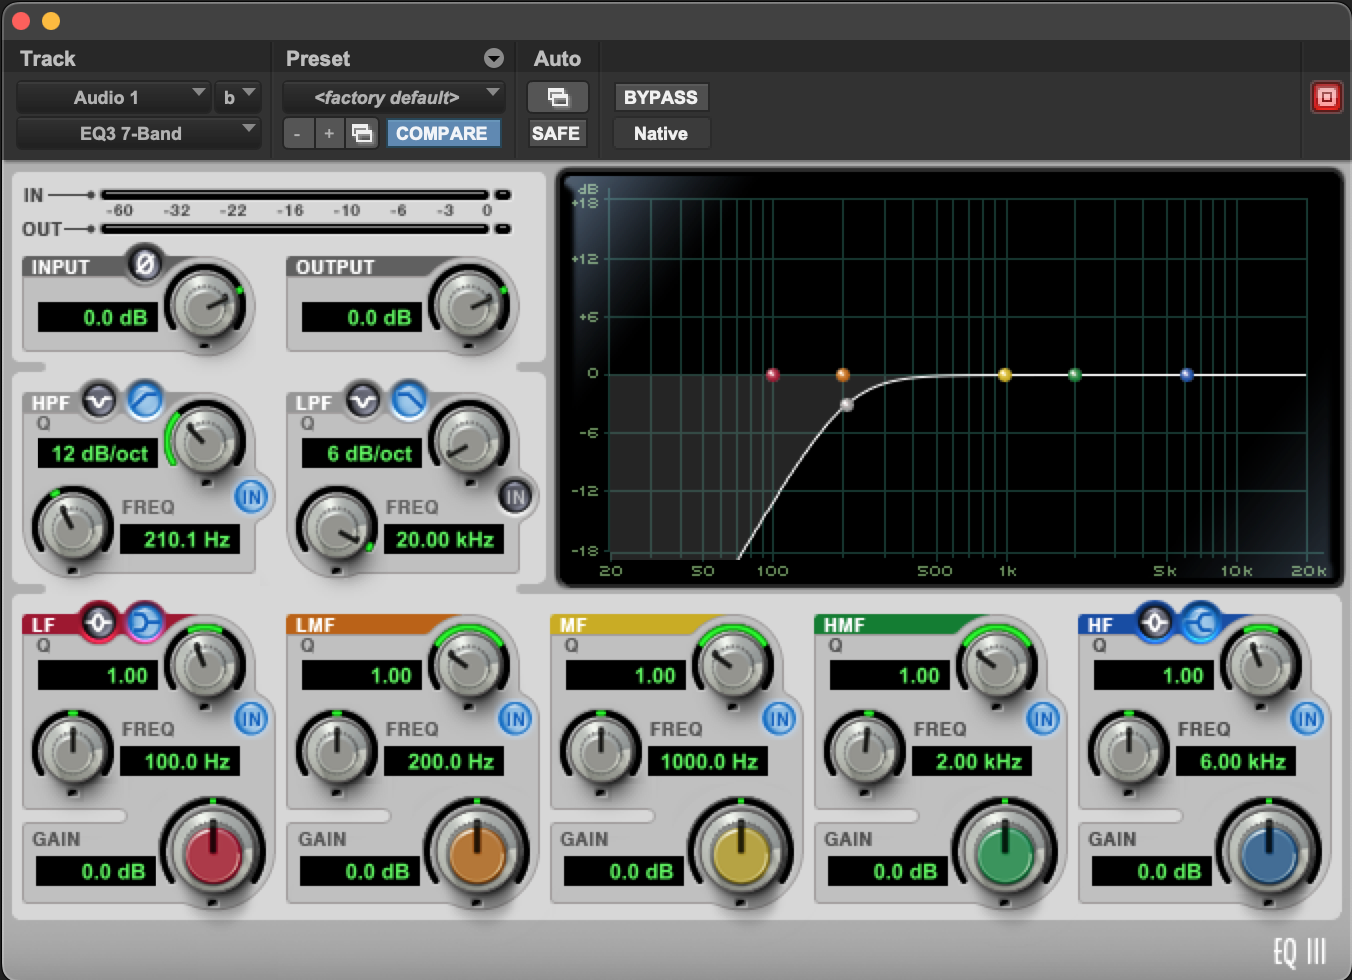
Surgical EQ: Precision Strikes Against Problem Frequencies
When high-pass filtering isn't enough, it's time for targeted frequency surgery. This technique involves hunting down and eliminating specific problematic frequencies within each track.
My approach: Create a narrow EQ cut and sweep through the suspected problem area (typically 100-1000 Hz). Listen for frequencies that, when removed, suddenly clarify the sound. Once located, fine-tune the cut's width and depth until you achieve transparency without sacrificing character.
Common trouble spots I encounter:
-
Around 200-250 Hz: Often creates "boxiness" in vocals and guitars
-
300-500 Hz: The "cardboard" zone that can make drums sound amateur
-
600-800 Hz: Can cause nasally, honking qualities in many sources
Remember: subtlety wins. A 2-3 dB cut often accomplishes more than dramatic 10 dB slashes.
Mastering Your Monitoring Environment
Here's an uncomfortable truth: your room and monitors might be lying to you, especially about bass frequencies. Most project studios suffer from acoustic issues that color perception.
My workaround strategies:
-
Reference on multiple systems: Check your mix on headphones, car speakers, and phone speakers
-
Mix at consistent, moderate volumes: Loud monitoring tricks your ears and leads to poor decisions
-
Use visual analysis tools: Spectrum analyzers provide objective feedback when your ears get tired
-
Study reference tracks: Load professional mixes in your genre into an analyzer and note their frequency distribution
Visual tools shouldn't replace your ears, but they offer valuable reality checks, especially for bass balance.
Prevention Through Arrangement: The Ultimate Solution
Here's the secret many engineers won't tell you: the best EQ move is the one you never have to make. Smart arrangement choices eliminate most muddiness before it occurs.
Consider these arrangement strategies:
-
Octave separation: If piano and guitar clash, try moving one up an octave
-
Rhythmic variation: Instruments playing identical rhythms compound frequency buildup
-
Timbral contrast: Choose sounds with naturally complementary frequency profiles
-
Dynamic arrangement: Not every instrument needs to play all the time
Think like a painter—each instrument is a color that needs its own space on the canvas.
The Path Forward
Conquering mix muddiness isn't about memorizing frequency numbers or buying expensive plugins. It's about developing your ears, understanding frequency interaction, and making thoughtful decisions from composition through final mix.
Start with these techniques on your current project. Apply high-pass filters methodically. Hunt for problem frequencies. Check your monitoring. Most importantly, listen critically to how professional mixes in your genre handle clarity.
With practice, you'll develop an intuitive sense for creating space and definition. Soon, muddy mixes will be a distant memory, replaced by productions that breathe with clarity and impact.
Remember: great mixes aren't mixed—they're crafted, one thoughtful decision at a time.